There are several essentials for proper photography lighting. These items will help you make the most of natural light, artificial light, and soft light. If you are new to photography, you may want to read up on the basics of each before you start shooting. For example, you may be curious about the differences between the types of lighting. Here, you’ll learn about Front, Soft light, Studio flash, and Studio flash head.
Soft light
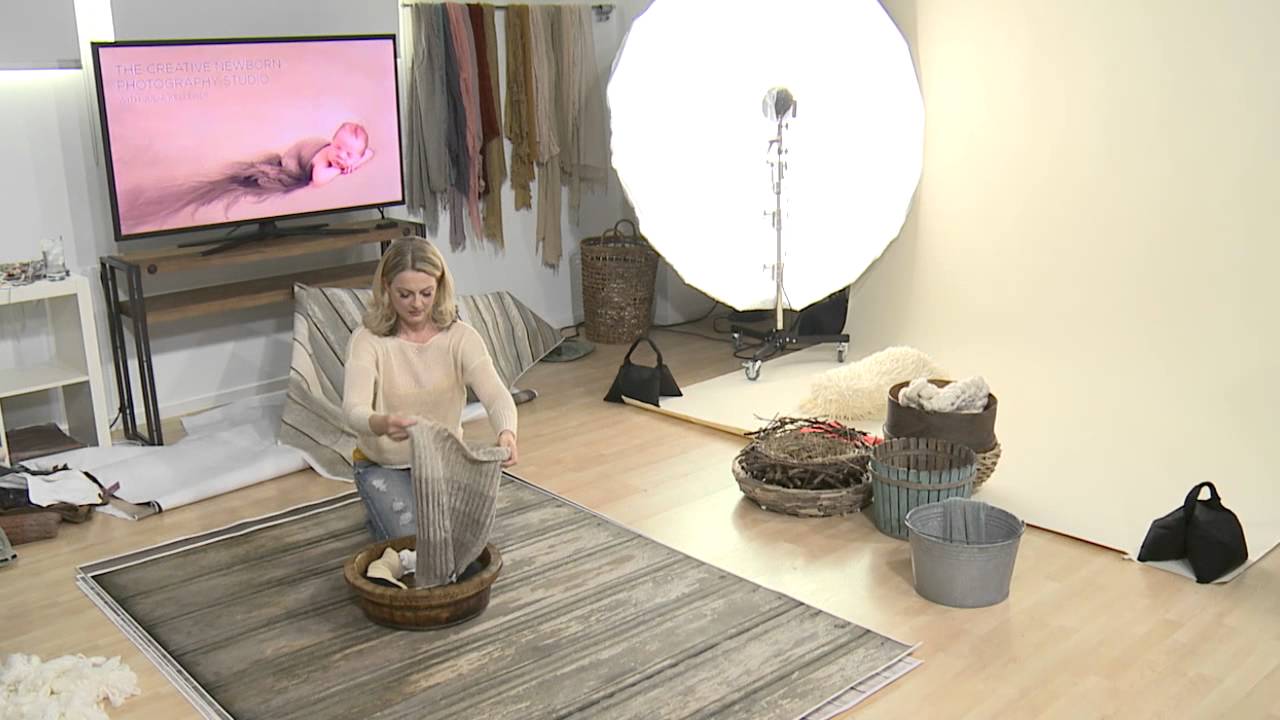
When taking portraits, it is important to use soft light as much as possible, as it makes the subject look more flattering. However, soft light can also reduce contrast, leaving the portrait looking flat. Here are some tips on how to set up soft light for photography. Follow these steps to get the best portraits. But first, you must determine what kind of soft light you will need. Do you need a softbox or a diffuser?
A soft light source is one that is large and close to the subject, and has a diffused glow. This type of light will minimize contrast and fill shadows. Soft light is often used in portrait photography, but is also useful for fashion, travel, and food photography. Soft light will hide wrinkles and acne, minimizing overall skin imperfections. The best way to use soft light is to practice a few basic photography techniques.
One of the easiest ways to use soft light is by reflecting it onto another surface. A white surface, for example, will act as a soft flash surface. Depending on your light source and distance from the subject, you can also vary the size of the soft light. If you need to use a soft light source to cover a larger area, use a white surface, such as a background or a wall.
Using window light is the easiest way to create diffused light indoors. Natural-light photo studios often have windows on the south side, which provide diffused light throughout the day. Make sure your subjects are close to these windows, but not in direct sunlight. Using curtains or blinds will also help soften the light. If the light is too harsh, the subject may feel dimmer. You can also use bounce flash, which creates a flash by bouncing off a larger object.
Front lighting
The sun provides beautiful lighting during sunrise and sunset. The light from these two times of the day is usually gentler, and you can also use an interior umbrella or diffuser panel. Be sure to carefully balance natural and artificial light for a more pleasing composition. Using a white background can help you get a softer front light by reflecting sunlight and artificial light. Alternatively, you can use white cardstock wrapped in tinfoil to bounce sunlight off a white surface.
When done correctly, front lighting can be extremely flattering. This is because there is little separation between the subject and the background. A fast lens with a low aperture (ideally 1.8) is ideal for front lighting. You can also use a fill flash to brighten the scene when the light is too harsh. But, the main key is to keep the brightness under control. As a rule, the front lighting should be set up to be about eye level with the subject.
The front lighting method is also referred to as flat lighting. This type of lighting creates no shadows and is particularly flattering for people with wrinkles or blemishes. However, it lacks detail, which makes it unsuitable for character portraits. However, if you’re shooting a group of people or a family portrait, you should consider using front lighting. This lighting technique can also produce images with more texture and less harsh shadows.
One of the most popular photographic setups is the triangle setup. This is a popular choice for product and portrait studio photographers. It involves lighting the product evenly in front. Using a light diffuser will help direct light from back angles and isolate the subject from the background. It also produces a prominent three-dimensional effect in photos and prevents flat, lifeless products. It is also widely used in editorial photography.
Side lighting
One of the most common genres of photography is landscape, and the use of side lighting can make it easier to capture more powerful images. Depending on the angle of the side light and the quality of the light, the sidelighting effect can greatly alter the final lighting setup. Direct sidelighting can create dramatic images, while diffused sidelighting is more flattering. Sidelighting can make your subjects stand out from the background and eliminate distractions.
Another popular side lighting style is split lighting, which creates a straight line in the center of the subject’s face. This style is good for dramatic portraits, and works best when paired with a hard light source. Rembrandt lighting, on the other hand, creates a triangle of light below the subject’s eye, making a two-dimensional image seem three-dimensional. Sidelighting is also useful for creating dramatic images, such as those in famous paintings.
Another technique for creating great images is backlighting. This technique is used to capture product imagery by placing a light source behind the subject. This type of lighting causes long shadows and silhouettes, as well as white balance issues. Using backlighting is a poor choice for portraits because it tends to ruin detail in the subject. To avoid these problems, you can use a light diffuser. It will reflect light from the background onto the subject.
Aside from using natural light, photographers can also use window or lamp light as side lighting for photography. It’s important to adjust the camera’s color temperature to the ambient light. With the proper practice, side lighting can create stunning effects. The benefits of side lighting can outweigh any drawbacks that may arise. There are some important things to remember before shooting a landscape. A strong backlight may even create a silhouette, so be sure to use the correct settings for the photo.
Studio flash head
When you’re in the studio, you might be wondering how to set up your studio flash head. It’s easy to make mistakes when it comes to setting up the head, but if you use a few simple tricks, you can improve your pictures without breaking the bank. First, you should make sure you know the different settings for your studio flash. You can learn more about the different settings by watching videos.
If your camera does not have a dedicated infrared transmitter, you can use the radio trigger to control your flash. A radio trigger works by sending a signal to a flash head via a receiver. It’s a simple solution that works even in areas with brick walls. Once the transmitter is set, you can trigger the lights from your camera. You can also use this method if you have a slave sensor.
Studio lights can be self-contained or power-pack systems. The self-contained types work best in a studio, while power-pack systems can be used in any indoor location. Using the power-pack system allows you to switch between heads with ease, and is more versatile than monolights. You can also purchase colored gels to add color effects to your photos. The beauty dish is a good option if you plan to use it in a studio.
After you’ve selected the type of lighting you want, you can choose the size, wattage, and power of the studio flash head. It’s important to consider the shooting technique that you’ll use and the amount of light you’ll need to cover the area you’re working in. If you’re using a light modifier, the studio flash head should be at least three hundred watts.
Reflectors
There are various types of Reflectors for photography. These reflectors are designed to soften shadow areas caused by hard or too much light. They are useful for both indoor and outdoor photography, and can increase the reflectivity of your photographs. The different colors of Reflectors help you emphasize different details. There are also a variety of Reflectors available, making it easy to choose one that will fit your needs. These reflectors can help you achieve the best results with your photography.
If you are a beginner and find it difficult to bounce light, a 40-inch reflector is an ideal choice. The width of the reflector covers a wide area and makes it great for headshots, couples, medium-sized objects, and groups. A 50-inch reflector is best for complete body photography and is suitable for larger groups, large objects, and complete bodies. Reflectors come in various shapes and sizes, so you can choose the one that best matches your subject.
A Reflector is used in photography to direct light to specific areas of the model. Photographers often use them to achieve a key light – a bright spot that casts light onto one side of the model. Another common use of a Reflector is to deepen shadows. A Reflector is an essential piece of lighting equipment. It is cheap, easy to use, and can improve the quality of your photographs. In addition to controlling light direction, you can also control its temperature and create a flattering, more dramatic look.
Reflectors can be used with either natural or artificial light. Their ability to change color, tone, and brightness of the subject’s skin tones is a key factor to getting the perfect shot. They are lightweight and portable, and they usually pack in a compact, portable package. They’re a useful accessory for photographers of any skill level. So, be sure to invest in a Reflector for Photography. Enjoy!